
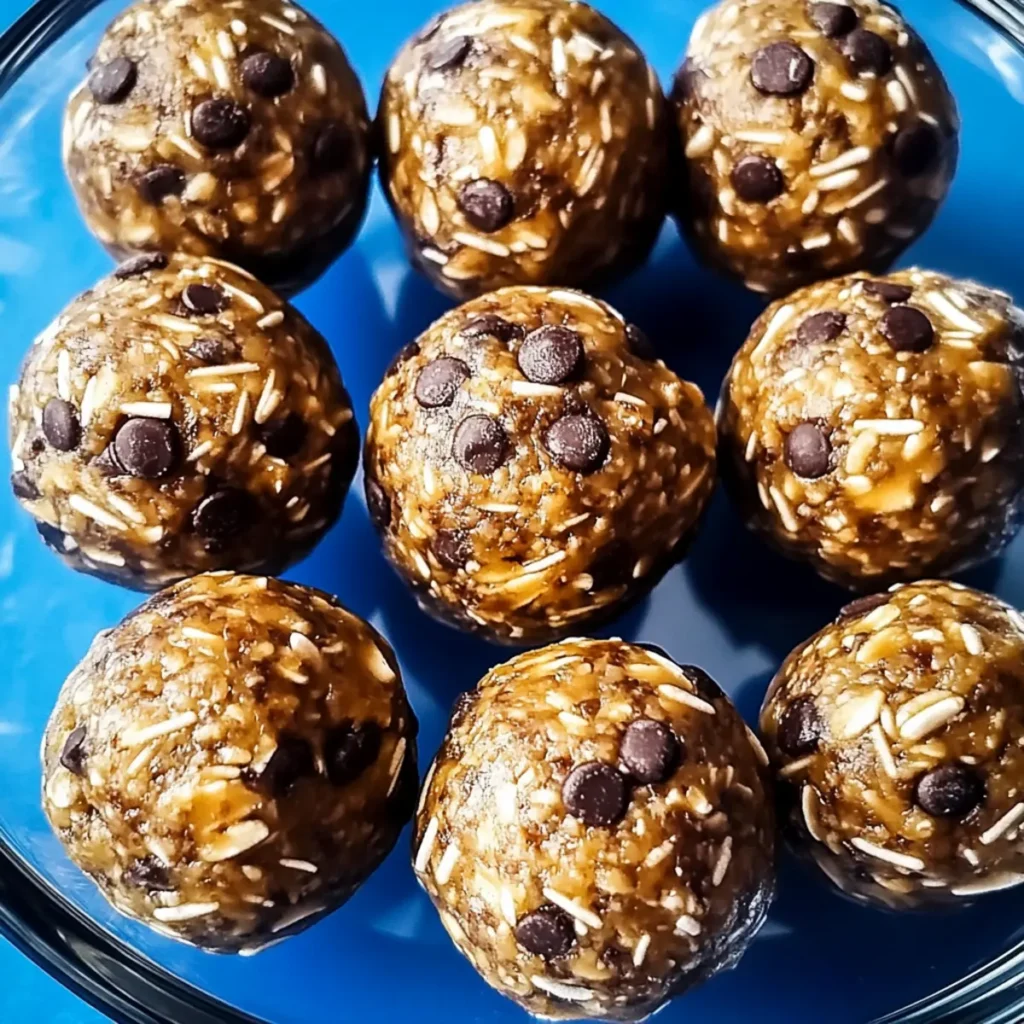
The delightful experience of biting into a No-Bake Protein Ball is like finding a treasure trove of flavor, texture, and nutrition all wrapped up in a simple little bite-sized package. Each ball is a crunchy, creamy, and slightly sweet morsel that promises to satiate your cravings while providing a healthy punch of protein. It’s the snacking solution you didn’t know you needed—perfect for a post-workout boost or an afternoon pick-me-up.
With a delightful combination of whole rolled oats and creamy peanut butter, this recipe entices with its sweet aroma and satisfying texture. You can whip up a batch in just 10 minutes, and before you know it, they’ll be chilling in your fridge, ready to fuel your day. Picture this: it’s a hectic afternoon, and your stomach starts grumbling. You reach for one of these little delights and, in a single bite, you’re greeted with a fantastic blend of chocolate chips and nutty goodness. Talk about a game-changer for your snacking routine!
Why You'll Love This No-Bake Protein Balls
- This incredible No-Bake Protein Balls transforms simple everyday ingredients into restaurant-quality flavors that will blow your mind completely.
- Foolproof recipe techniques guarantee perfect results every single time, making even novice cooks feel like professional chefs instantly.
- Stunning visual appeal with gorgeous colors and mouthwatering aromas creates the ultimate Instagram-worthy dish for any special occasion.
- Endlessly adaptable for different dietary needs while working beautifully for meal prep, date nights, or entertaining large groups effortlessly.
Ingredients for No-Bake Protein Balls
Here’s what you’ll need to make this delicious No-Bake Protein Balls:
1.5 cups whole rolled oats – The base of our protein balls for thickness, chew, and fiber; ensure they’re the old-fashioned, not instant variety for the right texture.
1 cup creamy natural peanut butter – A protein-packed delight that binds the mixture together; opt for unsweetened versions for a healthier option.
0.25 cups ground flaxseed – Adds a nutty flavor while offering omega-3 fatty acids; you can substitute with chia seeds if needed.
0.25 cups honey – Acts as a natural sweetener and binder; maple syrup is a great alternative for a vegan-friendly version.
2 scoops protein powder (approximately 0.25 cups) – Boosts the protein content; choose your favorite flavor for a personalized spin.
1 teaspoon vanilla extract – Enhances the sweetness and flavor profile; pure vanilla extract is always the way to go for a richer taste.
6 tablespoons mini chocolate chips – Because who can resist chocolate? Choose dark chocolate for a healthier sweet touch.
How to Make No-Bake Protein Balls
Follow these simple steps to prepare this delicious No-Bake Protein Balls:
Step 1: Gather Your Ingredients
Start by assembling all your ingredients, making sure your oats, peanut butter, honey, and protein powder are at room temperature for easy mixing.
Step 2: Mix the Dry Ingredients
In a large bowl, combine the whole rolled oats, ground flaxseed, and protein powder. Use a wooden spoon to stir until well blended and there are no clumps.
Step 3: Add the Wet Ingredients
Pour in the creamy peanut butter, honey, and vanilla extract. Mix these wet and dry ingredients together. You might have to use your hands eventually; don’t worry, it’s totally worth it.
Step 4: Fold in the Chocolate Chips
Once the mixture is combined, gently fold in those delightful mini chocolate chips. They’re like hidden treasures in each ball just waiting to be discovered.
Step 5: Shape into Balls
Using a 2-tablespoon cookie scoop, portion out the mixture and then roll it into balls using your hands. Don’t worry if they aren’t perfectly round; the taste will make up for any imperfections.
Step 6: Chill and Store
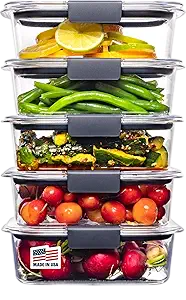
Transfer the balls to a container lined with parchment paper. Chill them in the fridge for 1 to 2 hours until firm. These No-Bake Protein Balls can keep well in the fridge for up to a week or freeze well for later enjoyment.
Once you have your No-Bake Protein Balls ready, grab a couple and set them aside for your next adventure. Whether you’re conquering a busy day at work, gearing up for an intense workout, or indulging in a guilt-free sweet treat during a binge-watch session, these protein balls are bound to be your newfound best friend. So what are you waiting for? Get to mixing and enjoy the delightful taste of healthy snacking!
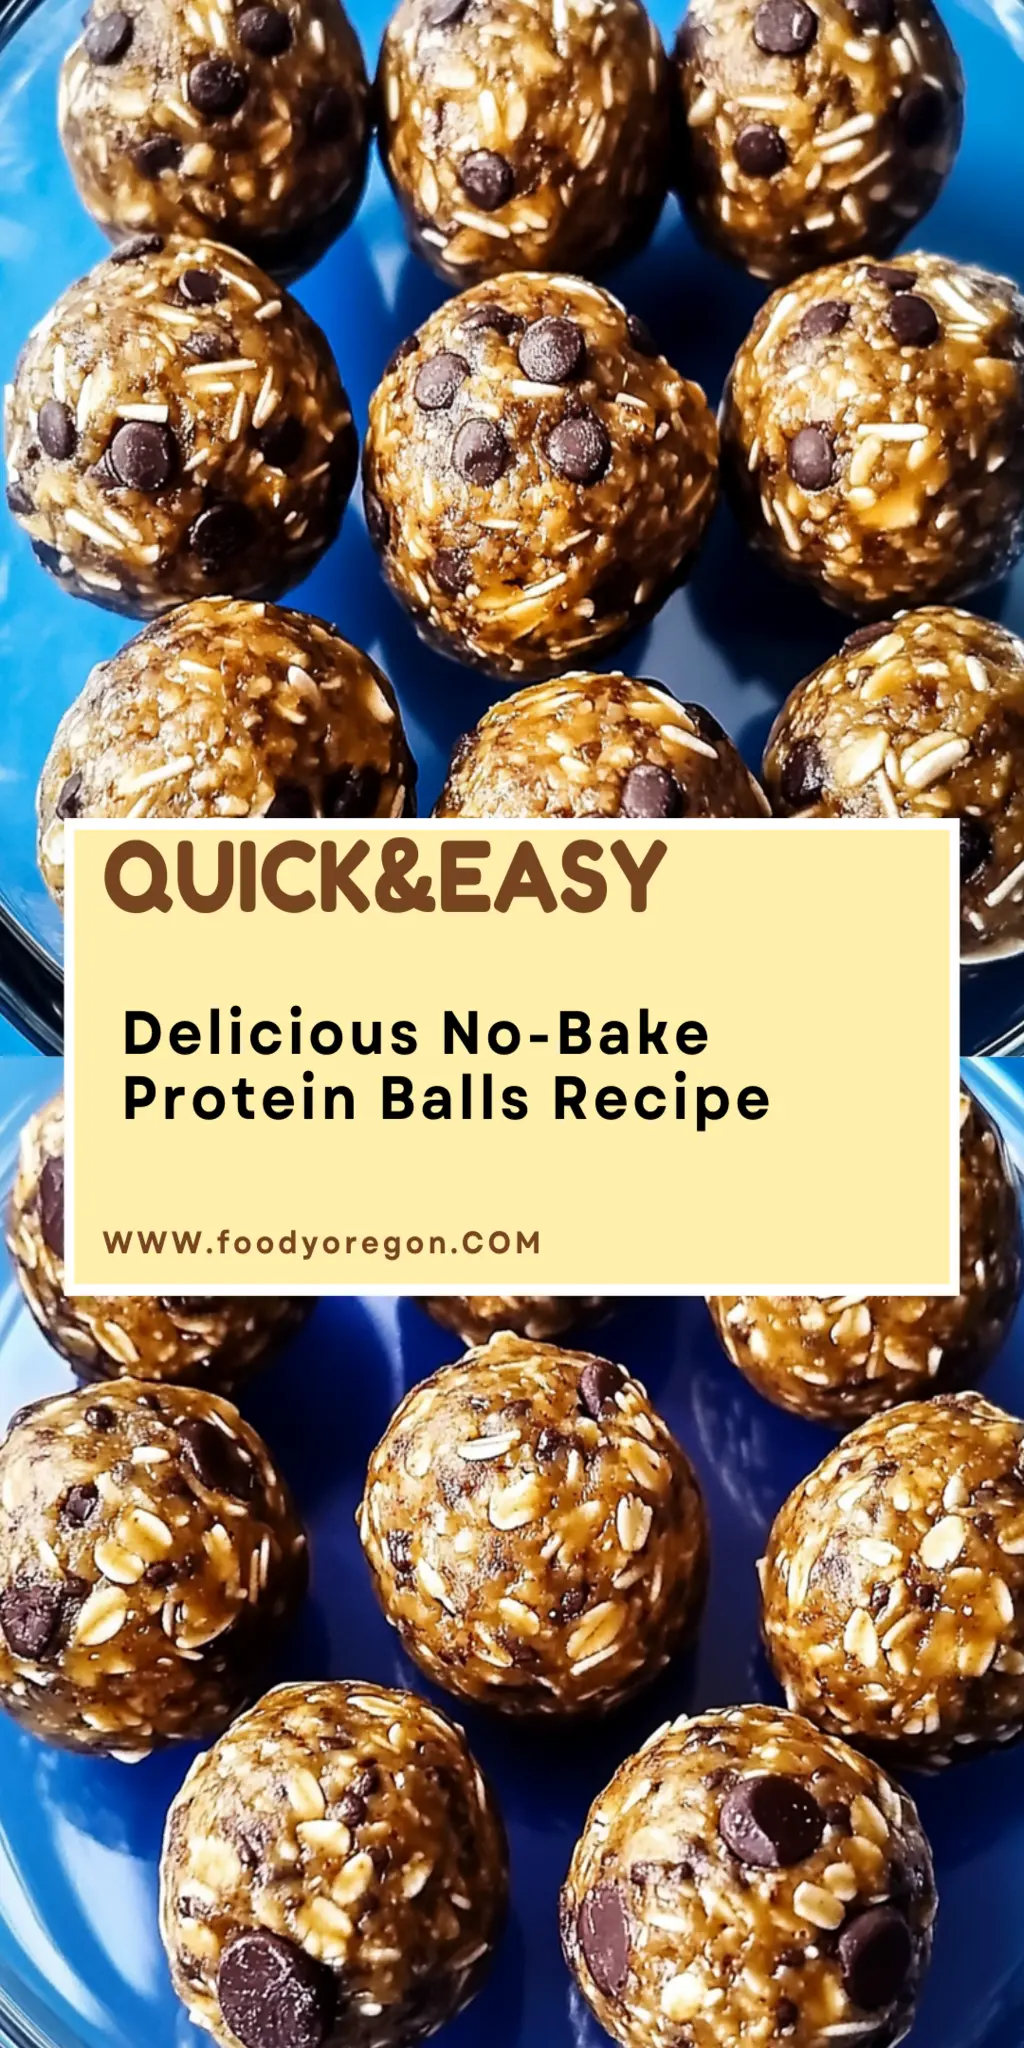
This showstopping No-Bake Protein Balls delivers restaurant-quality results using simple ingredients you probably already have at home. The perfect balance of textures and flavors creates an unforgettable dining experience that will have everyone asking for seconds. Picture-perfect presentation with vibrant colors makes this dish absolutely Instagram-worthy and guaranteed to impress any dinner guest. Incredibly versatile recipe that works beautifully for weeknight dinners, meal prep, special occasions, or even outdoor entertaining sessions.
Perfecting No-Bake Protein Balls Cooking Process
First, gather all ingredients and mix the dry ones together before incorporating the wet ingredients. This will ensure an even blend throughout the mixture. After combining everything, roll your protein balls quickly before chilling them in the fridge for the best texture.
Add Your Touch to No-Bake Protein Balls
Feel free to swap peanut butter with almond butter or sunflower seed butter for a nut-free option. You can also add dried fruit like cranberries or apricots, or consider using different flavored protein powder to personalize your energy bites to your taste!
Storing & Reheating No-Bake Protein Balls
Store your No-Bake Protein Balls in an airtight container in the fridge for up to a week. You can also freeze them for up to three months. Enjoy them straight from the freezer for a deliciously cold treat!
Chef's Helpful Tips for No-Bake Protein Balls
- This professional-quality No-Bake Protein Balls relies on precise timing and temperature control to achieve restaurant-standard results consistently.
- Master the art of mise en place by prepping all ingredients beforehand, ensuring smooth execution and preventing any last-minute cooking disasters.
- The secret lies in layering flavors throughout the cooking process rather than seasoning only at the end for maximum depth.
- Pro tip: let the finished dish rest for optimal texture and flavor development before serving to hungry guests waiting eagerly.
I recall the first time I made No-Bake Protein Balls for a gathering. My friends devoured them, and one even exclaimed they were better than her favorite store-bought kind. That moment confirmed my kitchen prowess!
FAQs About No-Bake Protein Balls
What are No-Bake Protein Balls?
No-Bake Protein Balls are delicious bite-sized snacks that combine wholesome ingredients like oats, nut butter, and protein powder, requiring no baking at all. These nutrient-packed treats are perfect for those seeking quick, healthy snacking options. Just mix the ingredients, roll them into balls, and you’re ready to enjoy a protein boost on the go. They suit various dietary preferences and can be customized with different flavors, making them a versatile option for everyone.
How do you store No-Bake Protein Balls?
To keep your No-Bake Protein Balls fresh and delicious, store them in an airtight container in the refrigerator. They can last up to a week, allowing you to enjoy a healthy snack throughout the week. For longer storage, these protein balls can be frozen for up to three months. Simply take one out and enjoy it straight from the freezer for a cold, satisfying treat!
Can I customize my No-Bake Protein Balls?
Absolutely! One of the best things about No-Bake Protein Balls is their versatility. You can swap out peanut butter for almond or sunflower seed butter to cater to allergies or preferences. Adding dried fruits like cranberries or apricots can enhance the flavor and texture. Feel free to experiment with different types of protein powder, or even flavor the mixture with spices like cinnamon for a personal twist on this easy snack.
What can I eat with No-Bake Protein Balls?
No-Bake Protein Balls make a fantastic standalone snack or a quick on-the-go breakfast. You can pair them with yogurt and fresh fruit for a delicious breakfast parfait or enjoy them with a smoothie for a satisfying post-workout recovery. They also serve as a great addition to lunchboxes, providing an energy boost to power through the day, especially during busy schedules.
Conclusion for No-Bake Protein Balls
In conclusion, No-Bake Protein Balls are a fantastic option for anyone looking to enjoy healthy, convenient snacking. With their simple preparation and customizable ingredients, they cater to various tastes and dietary needs. Enjoy them as a quick breakfast, tasty dessert, or even a post-workout snack. Don’t hesitate to whip up a batch for your next gathering; they’re sure to impress!
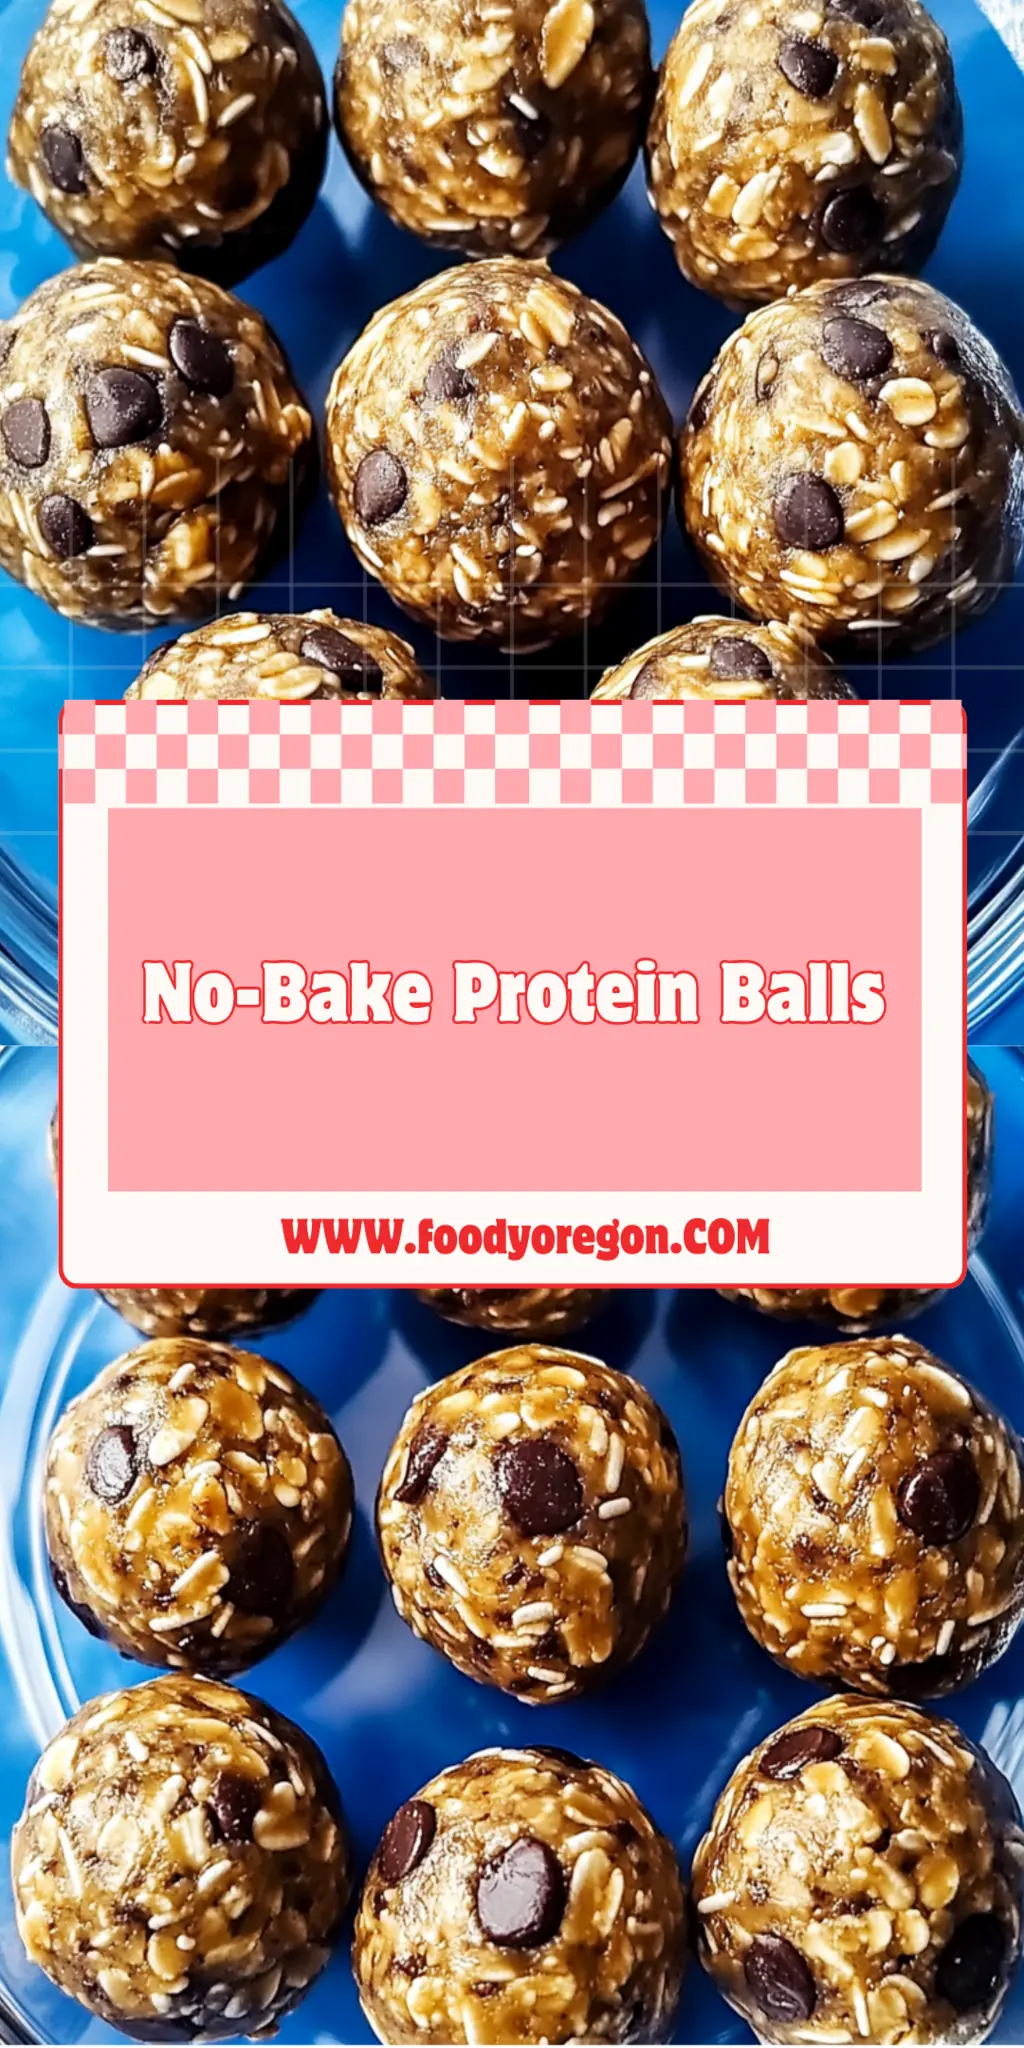
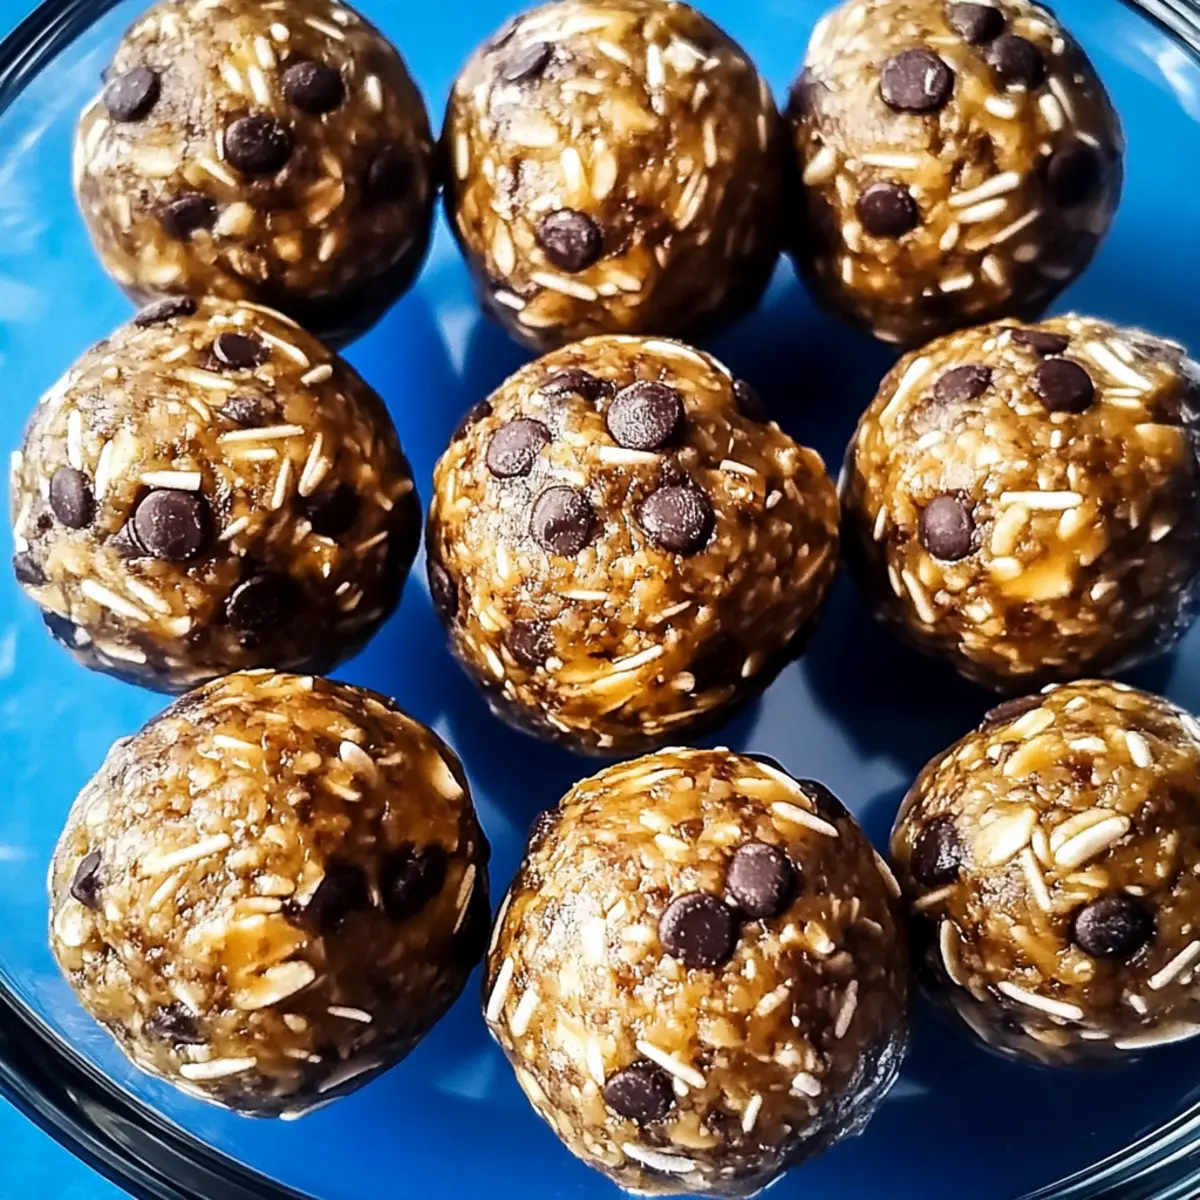
No-Bake Protein Balls
Ingredients
Equipment
Method
- In a large bowl, mix together the oats, peanut butter, flax, honey, protein powder, vanilla, and chocolate chips. The mixture will be thick.
- Use a 2-tablespoon cookie scoop to scoop the mixture, then use your hands to roll it into balls.
- Chill in the fridge for 1 to 2 hours, or until firm.
- The protein balls keep well in the fridge for up to a week. They also freeze well.