
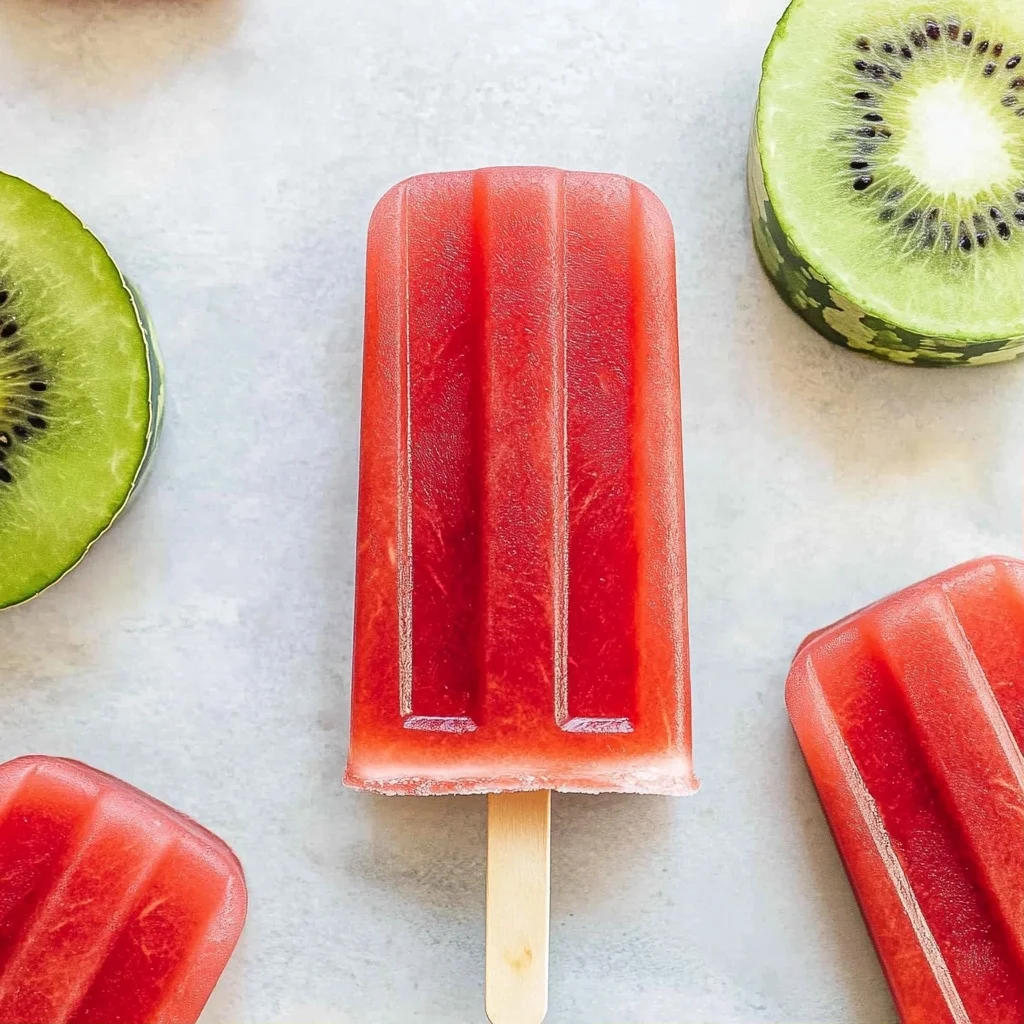
Imagine biting into a vibrant, icy watermelon popsicle on a scorching summer day, the sweet juice bursting forth with every lick and drenching your senses in sunshine. The tantalizing blend of fruity freshness and coolness offers a delightful escape from the heat, making each moment feel like a mini-vacation to a tropical paradise.
As you savor these refreshing treats, memories of laughter-filled barbecues and lazy afternoons by the pool come flooding back, reminding you of those carefree days where every bite is a celebration. Whether you’re hosting a backyard party or simply indulging in a quiet moment of bliss, watermelon popsicles are the perfect companion for creating joyful memories and cooling down with flavor-packed fun.
Why Is watermelon popsicles So Irresistibly Good?
Refreshing and Hydrating: These watermelon popsicles are packed with juicy, seedless watermelon, making them a perfect thirst-quencher on hot summer days.
Zesty Flavor: A splash of freshly squeezed lime juice elevates the sweetness, creating a delightful balance that’s hard to resist.
Natural Sweetness: With the option to add honey, you control the sweetness level, making this treat customizable for everyone.
Quick and Easy: In just 10 minutes, you can whip up these delicious popsicles without any cooking involved—perfect for busy schedules!
Crowd-Pleaser: Kids and adults alike will love these vibrant treats, making them a fantastic addition to summer gatherings or family fun days.
watermelon popsicles Ingredients
- For the Popsicles
- 4 cups watermelon, cubed (seedless) – Use sweet, ripe watermelon for the best flavor in your refreshing watermelon popsicles.
- 1 tablespoon lime juice (freshly squeezed) – This adds a zesty kick that enhances the natural sweetness of the watermelon.
- 1 tablespoon honey (optional, adjust to taste) – Drizzle in honey if you prefer a sweeter popsicle; feel free to omit or adjust based on your preference.
How to Make watermelon popsicles

1. Blend: In a blender, combine the 4 cups of cubed seedless watermelon, 1 tablespoon of freshly squeezed lime juice, and 1 tablespoon of honey (if desired). Blend until the mixture is smooth and vibrant.
2. Fill: Carefully pour the refreshing watermelon mixture into popsicle molds. Leave a little space at the top for expansion as they freeze—this helps prevent any messy spills!
3. Freeze: Insert sticks into the molds and place them in the freezer. Allow them to freeze for at least 4 hours or until they’re completely solid. You’ll know they’re ready when they feel firm to the touch.
4. Serve: To remove your delightful watermelon popsicles, run warm water over the outside of the molds for a few seconds. Gently pull them out and enjoy this summer treat!
Optional: Garnish with fresh mint leaves for an extra refreshing touch.
Exact quantities are listed in the recipe card below.
Expert Tips
- Choose Ripe Watermelon: Select a ripe, sweet seedless watermelon for the best flavor. Look for a dull skin and a uniform shape.
- Adjust Sweetness: Taste the mixture before pouring it into molds. If it’s not sweet enough, add more honey gradually to suit your preference.
- Avoid Overfilling Molds: Leave space at the top of your molds to allow for expansion as the watermelon popsicles freeze; this prevents messy spills.
- Freeze Properly: Ensure your popsicle sticks are centered by inserting them after about 1 hour of freezing, then let them freeze fully for at least 4 hours.
- Easy Removal Trick: If your watermelon popsicles are hard to get out, run warm water over the outside of the molds for a few seconds for easier release.
How to Store and Freeze watermelon popsicles
- Room Temperature: Watermelon popsicles should not be kept at room temperature; they will melt quickly, losing their delightful texture and flavor.
- Fridge: If you have leftover popsicles, store them in the fridge for up to 1 day before freezing. Keep them covered to prevent any unwanted odors.
- Freezer: For long-term storage, place your watermelon popsicles in an airtight container or wrap them tightly in plastic wrap. They can last up to 3 months in the freezer without losing flavor.
- Serving: To enjoy your frozen watermelon popsicles, simply remove them from the freezer and let them sit at room temperature for a few minutes before serving, making them easier to enjoy!
watermelon popsicles Your Way
Feel free to add your own twist to these delightful frozen treats and make them uniquely yours!
- Minty Fresh: Add a handful of fresh mint leaves to the blender for a refreshing herbal note. The combination of watermelon and mint will elevate your popsicles, giving them a cool, aromatic finish. Perfect for those sweltering summer days!
- Berry Blast: Toss in 1 cup of mixed berries before blending for a colorful and fruity flavor explosion. Strawberries, blueberries, or raspberries can add a lovely sweetness and vibrant hue to your popsicles. It’s like summer in a mold!
- Coconut Cream: Substitute half the watermelon with coconut milk for a creamy, tropical treat. This twist introduces a luscious texture and brings the essence of an island getaway straight to your freezer. Pair this with some toasted coconut flakes on top for added crunch!
- Spicy Kick: Add a pinch of cayenne pepper or sliced jalapeños for unexpected heat. The spicy kick will contrast beautifully with the sweet watermelon, creating an exciting flavor experience. Just be careful not to overdo it—start small and adjust to your taste!
- Zesty Citrus: Mix in other citrus juices, like orange or grapefruit, for an extra zing! A splash of these bright flavors can enhance the overall profile while keeping everything refreshingly light. It’s as if summer sunshine is captured in each pop.
- Chocolate Drizzle: Once frozen, dip your popsicles in melted dark chocolate and sprinkle with sea salt. This indulgent twist adds richness and sophistication while still celebrating the refreshing watermelon base. It’s a beautiful contrast that’s hard to resist!
- Ginger Zing: Blend in freshly grated ginger for an invigorating spiciness that will awaken your taste buds. The warmth of ginger pairs well with the cooling sweetness of watermelon, making every bite feel energizing and revitalizing.
- Nutty Delight: Incorporate almond or peanut butter into the mix for added creaminess and protein. This nutty addition transforms your popsicles into a satisfying snack that packs extra nutrition while still being utterly delicious!
Make Ahead Options

Preparing watermelon popsicles is a delightful way to enjoy meal prep, especially during the hot summer days when a refreshing treat is a must! You can take steps to make this recipe ahead of time by cubing your seedless watermelon and storing it in the refrigerator for up to 3 days. Additionally, you can squeeze your lime juice and mix it with honey, keeping it ready to blend with the watermelon. When you’re ready to serve, simply blend the prepped ingredients, pour the mixture into molds, and freeze for at least 4 hours or until solid. To enjoy your icy treats, run warm water over the molds for a few seconds to release the popsicles effortlessly. With these simple preparations, you’ll save time while treating yourself and your loved ones to delicious homemade watermelon popsicles!
Your watermelon popsicles Questions, Answered
What type of watermelon should I use for these popsicles?
For the best results, opt for seedless watermelons. They’re sweet, juicy, and blend up beautifully without the hassle of seeds. Look for a vibrant green rind and a uniform shape; this usually indicates ripeness.
Can I adjust the sweetness of my watermelon popsicles?
Absolutely! If you prefer your popsicles on the sweeter side, feel free to add more honey—start with an extra half tablespoon and taste as you go. Remember that the natural sweetness of ripe watermelon can often be enough, so adjust according to your personal preference.
How long do these watermelon popsicles need to freeze?
You’ll want to freeze your watermelon mixture for at least 4 hours, or until solid. A good tip is to check if they’re firm enough by gently pulling out a stick; if it comes out easily without any slushy residue, they’re ready to enjoy!
What’s the best way to remove the popsicles from their molds?
To easily release your frozen treats, run warm water over the outside of the molds for about 10 seconds. This will slightly melt the outer layer, making it super easy to slide out your delicious watermelon popsicles without any breaking or mess.
How should I store leftover watermelon popsicles?
If you have any leftovers (which is rare because they’re so tasty!), simply wrap each popsicle in plastic wrap or place them in an airtight container. They can be stored in the freezer for up to 2 weeks while maintaining their delightful flavor and texture.
What is a good serving size for these popsicles?
This recipe yields about 4 servings, with each serving containing roughly 50 calories. Perfectly portioned for a hot summer day treat or as a refreshing snack after dinner!
Watermelon Popsicles
Ingredients
Method
- In a blender, combine the cubed watermelon, lime juice, and honey. Blend until smooth.
- Pour the watermelon mixture into popsicle molds, leaving a little space at the top for expansion.
- Insert sticks into the molds and freeze for at least 4 hours or until solid.
- To remove the popsicles, run warm water over the outside of the molds for a few seconds. Enjoy!