
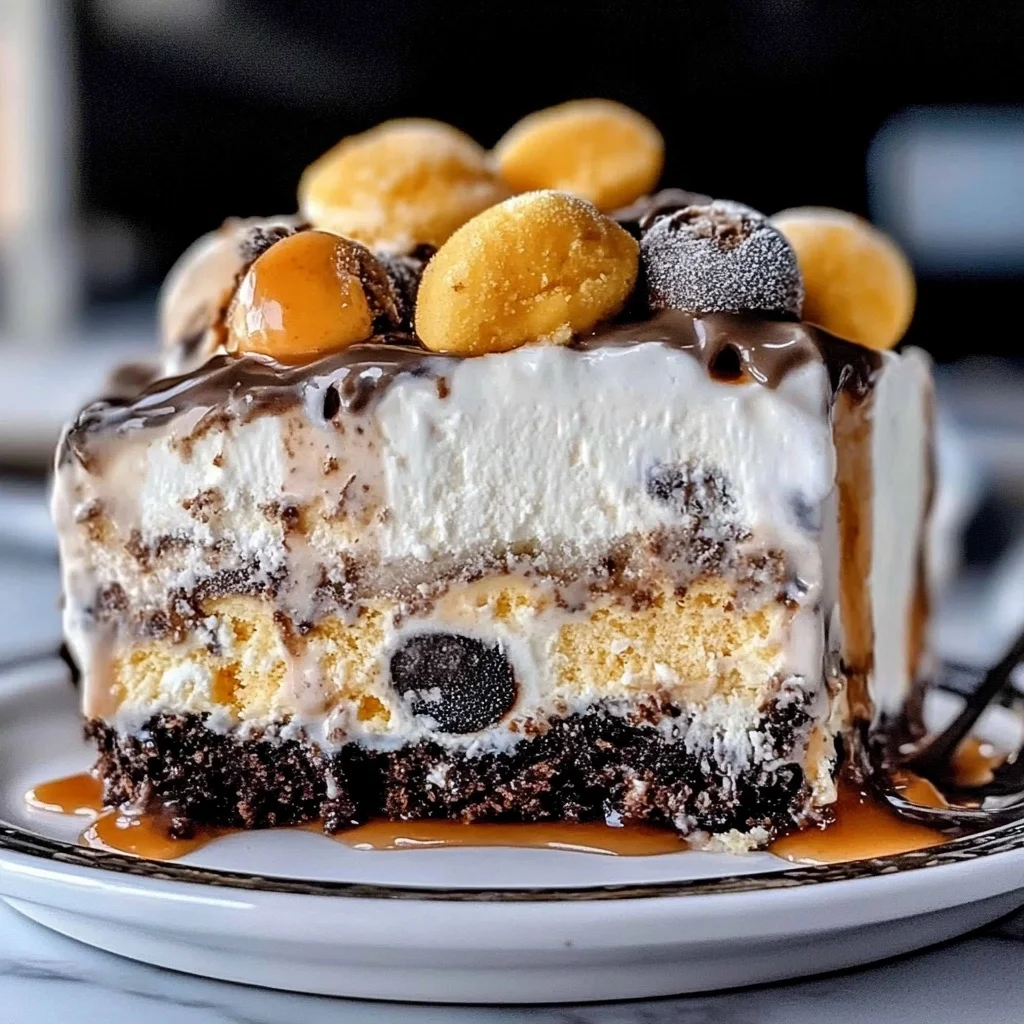
Imagine slicing into a homemade ice cream cake, where each bite reveals a delightful layer of moist cake and creamy ice cream, harmonizing into a symphony of flavors that dance on your palate. The aroma of freshly baked cake mingles with the sweet scent of vanilla and chocolate, creating an irresistible invitation that no one can resist.
This dessert is not just a treat; it’s a celebration in itself, perfect for birthdays, summer gatherings, or any occasion that calls for sweet indulgence. Picture the laughter shared over this delightful creation, each layer telling its own story as you dig in with family and friends. Homemade ice cream cake promises to elevate any event into a memorable experience bursting with joy and flavor!
Why Does Everyone Love homemade ice cream cake?
Deliciously customizable to suit any taste, this homemade ice cream cake allows you to mix and match flavors, making it perfect for any celebration. Easy to prepare with simple ingredients like chocolate cake mix and softened ice cream, you’ll save time while impressing your guests. Layered perfection of rich cake and creamy ice cream creates a delightful contrast that pleases every palate. Show-stopping presentation topped with whipped cream and drizzled chocolate syrup adds that finishing touch everyone will adore!
Ingredients for homemade ice cream cake
For the Cake Layer
- 1 box chocolate cake mix (or any preferred flavor) – This forms the delicious base of your homemade ice cream cake, bringing a rich flavor to every bite.
- 1 cup water – Essential for mixing and activating the cake batter, ensuring a moist texture.
- 1/3 cup vegetable oil – Keeps the cake tender and adds moisture; you can substitute with melted butter if desired.
- 3 large eggs – These bind the ingredients together and provide structure to your cake layer.
For the Ice Cream Filling
- 1 quart vanilla ice cream (softened) – Choose your favorite brand for a creamy layer that complements the chocolate cake perfectly.
- 1 quart chocolate ice cream (softened) – Adds a rich chocolatey flavor that pairs beautifully with vanilla.
For the Frosting
- 1 cup whipped cream (for topping) – Light and fluffy, this creates a delightful finish on top of your ice cream cake.
- 1/4 cup chocolate syrup (for drizzling) – A sweet touch to enhance presentation and add extra chocolate flavor!
How to Make homemade ice cream cake

1. Preheat the oven to 350°F (175°C) and prepare your cake pan by greasing and flouring a 9-inch round cake pan. This ensures a smooth release after baking!
2. Combine the chocolate cake mix, 1 cup water, 1/3 cup vegetable oil, and 3 large eggs in a mixing bowl. Mix until smooth; the batter should be well-blended and slightly thick.
3. Pour the batter into the prepared cake pan and bake for 25-30 minutes or until a toothpick comes out clean. The top should look firm and spring back when gently pressed.
4. Cool the cake completely in the pan before removing it. This step is crucial for preventing breakage when you slice it later!
Assemble Cake:
5. Slice the cooled cake in half horizontally to create two layers. Use a sharp knife for an even cut, ensuring both layers are of equal thickness.
6. Place one layer of cake on a serving plate and spread a generous layer of softened vanilla ice cream on top, allowing it to slightly melt into the cake.
7. Add the second layer of cake on top of the ice cream, then spread a layer of softened chocolate ice cream over it for that delightful contrast.
8. Cover your creation with plastic wrap and freeze for at least 2 hours to set, making sure everything stays firmly layered together.
Frost and Serve:
9. Remove the cake from the freezer and frost the top and sides with whipped cream, creating a fluffy exterior that looks inviting and delicious.
10. Drizzle chocolate syrup over the top for decoration, adding a touch of sweetness that complements your homemade ice cream cake beautifully.
11. Slice and serve immediately, or return to the freezer until you’re ready to enjoy this frozen delight with family and friends!
Optional: Garnish with chocolate shavings or sprinkles for an extra festive touch!
Exact quantities are listed in the recipe card below.
Tips for the Best homemade ice cream cake
- Choose Quality Ingredients: Use high-quality chocolate cake mix and premium ice creams for a richer flavor in your homemade ice cream cake.
- Cool Completely: Make sure the cake layers are completely cooled before assembling. This prevents the ice cream from melting and makes layering easier.
- Slicing Technique: Use a serrated knife to slice the cake layers evenly. This ensures a neat presentation and helps avoid crumbling.
- Softening Ice Cream: Let the ice cream sit out for about 10-15 minutes before spreading. Softened ice cream spreads more easily and creates a better texture.
- Freezing Time Matters: Don’t skip the freezing step! Freezing the assembled cake solidifies the layers, making it easier to frost and serve without melting.
- Decorate Wisely: Drizzle chocolate syrup immediately after frosting while it’s still soft. It will create beautiful patterns that set nicely as it freezes.
How to Store and Freeze homemade ice cream cake
- Fridge: Store leftover homemade ice cream cake in an airtight container for up to 3 days to keep it fresh and delicious.
- Freezer: If you need to freeze your cake, wrap it tightly in plastic wrap, then foil; it will stay good for up to 2 months.
- Serving: To serve, let the frozen cake sit at room temperature for about 10-15 minutes before slicing for easier serving.
- Refrigerate Frosting: Keep any leftover whipped cream frosting in the fridge for up to 2 days in a sealed container; re-whip if needed before using.
homemade ice cream cake Your Way
Feel free to get creative with this delightful dessert—your taste buds will thank you!
- Gluten-Free: Use a gluten-free cake mix instead of regular to make it suitable for everyone. This way, even those with dietary restrictions can indulge in a slice of happiness.
- Fruit-Filled: Add layers of fresh fruits like strawberries or bananas between the ice cream layers for a refreshing twist. The combination of creamy ice cream and juicy fruit creates a delightful contrast that’s hard to resist.
- Nutty Crunch: Incorporate chopped nuts like almonds or pecans into the cake batter for added texture. The crunchiness pairs beautifully with the smoothness of the ice cream, making each bite an adventure.
- Coffee Lover’s Delight: Substitute brewed coffee for water in the cake mix to infuse a rich coffee flavor. This variation will satisfy any coffee enthusiast and add a unique depth to your cake.
- Mint Chocolate Chip: Swap out chocolate ice cream for mint chocolate chip for a refreshing change. The cool minty flavor adds an unexpected twist that’s perfect for warm weather celebrations.
- Caramel Drizzle: Instead of chocolate syrup, try drizzling homemade caramel sauce on top. This sweet addition brings a wonderful layer of flavor and elegance to your cake.
- Spicy Kick: Add a pinch of cayenne pepper or cinnamon to the cake mix for a subtle heat. It’s an intriguing way to surprise your guests with a little something extra in every bite.
- Layered Delight: Create additional layers by alternating flavors in the ice cream filling, such as strawberry or cookies and cream. Mixing flavors will make each slice visually appealing and deliciously varied!
Make Ahead Options
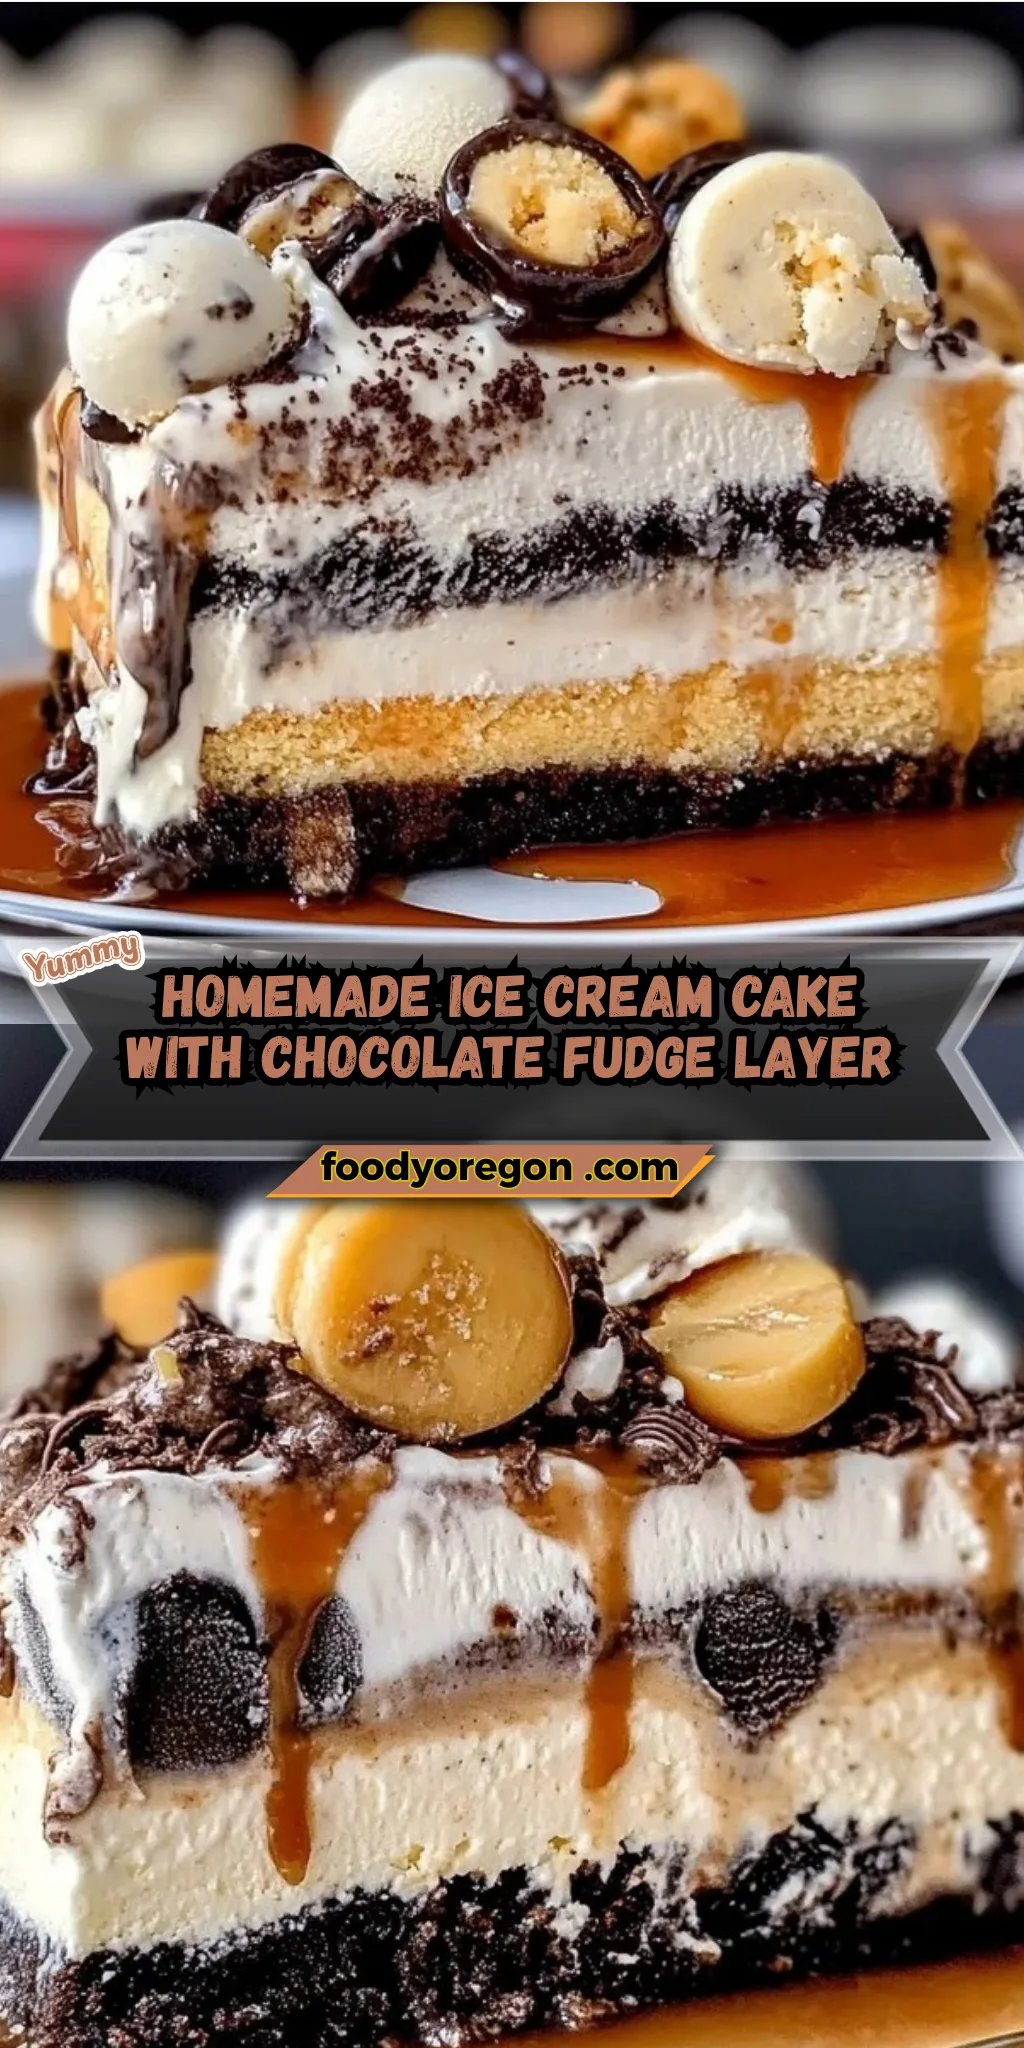
Preparing a homemade ice cream cake is a delightful way to save time when planning for celebrations. You can make the cake layer up to 24 hours in advance by baking it, allowing it to cool completely, and then storing it wrapped in plastic wrap at room temperature. The ice cream fillings can also be softened and layered ahead of time; simply spread the softened vanilla and chocolate ice creams onto the respective cake layers, cover with plastic wrap, and freeze for up to 3 days. When you’re ready to serve your homemade ice cream cake, just frost it with whipped cream and drizzle with chocolate syrup. This thoughtful prep allows you to enjoy more time with your loved ones while ensuring a delicious dessert awaits!
homemade ice cream cake Recipe FAQs
Can I use a different flavor of cake mix?
Absolutely! While this recipe features a chocolate cake mix, you can easily swap it out for vanilla, red velvet, or any flavor that tickles your taste buds. Just follow the same mixing and baking instructions, and you’ll have a fabulous base for your homemade ice cream cake.
How do I store leftover homemade ice cream cake?
To keep your ice cream cake fresh, wrap it tightly in plastic wrap and place it in the freezer. It will stay delicious for about 1-2 weeks. Just remember to slice off what you need before putting it back in the freezer to maintain its texture and flavor!
What should I do if my ice cream is too hard to spread?
If your ice cream is too hard after freezing, let it sit at room temperature for about 5–10 minutes to soften slightly; this makes spreading much easier. You want it soft enough to spread smoothly without melting completely, so keep an eye on it!
How many servings does this recipe yield?
This delightful homemade ice cream cake yields about 8 servings. If you’re expecting a larger crowd or want leftovers (who wouldn’t?), feel free to double the recipe and create a towering dessert that will impress everyone!
What’s the best way to frost and decorate my cake?
For frosting, use chilled whipped cream for easy spreading. Once frosted, drizzle some chocolate syrup over the top for an extra touch of decadence! You can also add sprinkles, crushed cookies, or fresh fruit for added flair—get creative with your decorations!
Can I make this recipe ahead of time?
Yes! This homemade ice cream cake is perfect for making ahead. You can assemble it up to a day in advance and keep it frozen until you’re ready to serve. Just let it sit at room temperature for about 10 minutes before slicing—it will make cutting through that delicious frozen treat much easier!
Homemade Ice Cream Cake
Ingredients
Method
- Preheat the oven to 350°F (175°C). Grease and flour a 9-inch round cake pan.
- In a mixing bowl, combine the chocolate cake mix, water, vegetable oil, and eggs. Mix until smooth.
- Pour the batter into the prepared cake pan and bake for 25-30 minutes or until a toothpick comes out clean.
- Allow the cake to cool completely in the pan before removing.
- Once the cake is cool, slice it in half horizontally to create two layers.
- Place one layer of cake on a serving plate. Spread a layer of softened vanilla ice cream on top.
- Add the second layer of cake on top of the ice cream, then spread a layer of softened chocolate ice cream.
- Cover the cake with plastic wrap and freeze for at least 2 hours to set.
- Remove the cake from the freezer and frost the top and sides with whipped cream.
- Drizzle chocolate syrup over the top for decoration.
- Slice and serve immediately, or return to the freezer until ready to serve.