
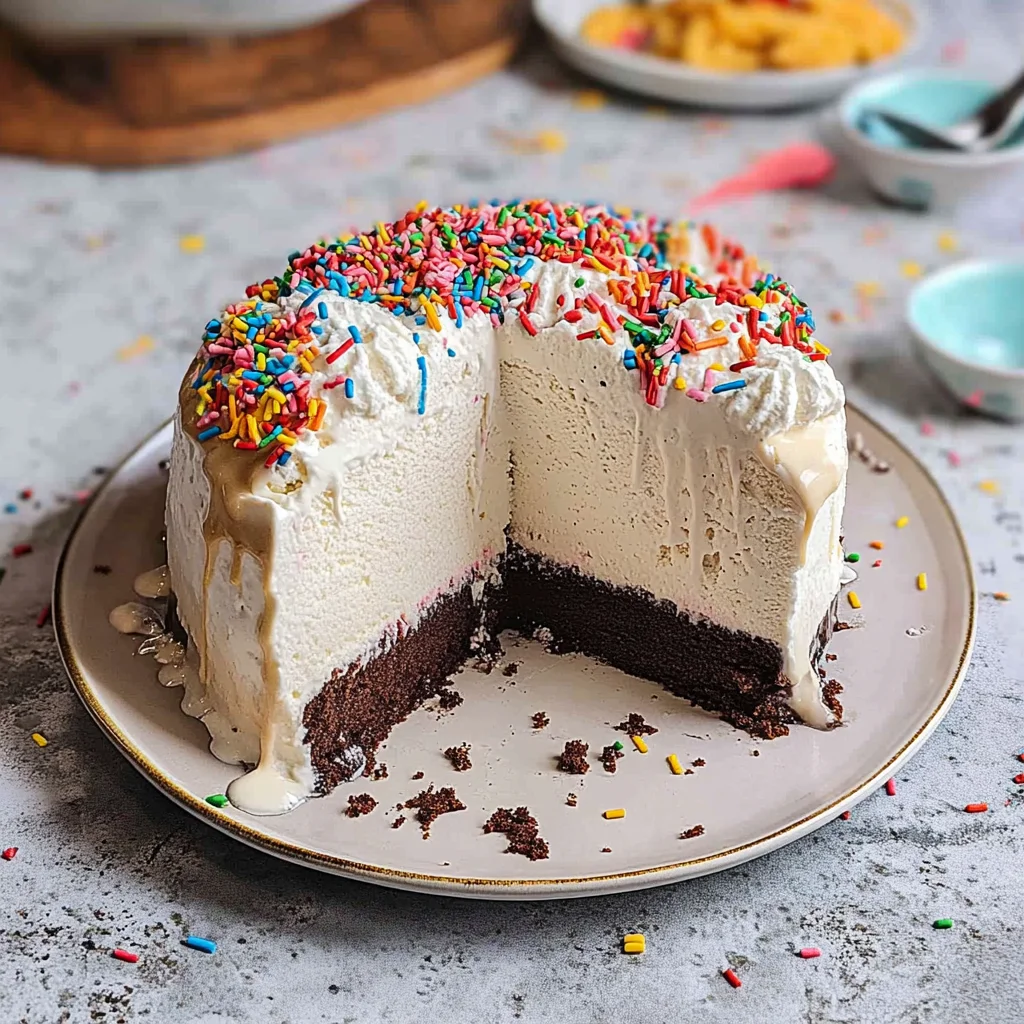
Imagine the first bite of a luscious ice cream cake, where creamy ice cream meets fluffy cake, creating a delightful explosion of flavors and textures that dance on your palate. Each spoonful is a celebration of nostalgia, evoking memories of summer birthdays and family gatherings filled with laughter and joy.
As the cool sweetness melts away, you can almost hear the cheerful chatter of friends and family surrounding you, making every occasion feel like a special event. Whether it’s a sunny afternoon barbecue or a cozy winter holiday gathering, this ice cream cake promises to be the star of the dessert table, leaving everyone craving just one more slice.
Why Is ice cream cake So Irresistibly Good?
Indulge in the perfect combination of flavors with our ice cream cake! Versatile enough to please everyone, you can choose your favorite ice cream flavor and customize the toppings. Effortless to prepare, this dessert requires no baking, making it a time-saver for busy celebrations. Delightful layers of fluffy cake and creamy ice cream create a texture that’s simply mouthwatering. Visually stunning, topped with whipped cream, chocolate syrup, and colorful sprinkles, it’s sure to impress at any gathering!
ice cream cake Ingredient List
For the Cake Layer
- 1 cup all-purpose flour – This creates the structure for your delicious ice cream cake.
- 1 cup granulated sugar – Adds sweetness and helps to achieve a lovely golden color.
- 1 tsp baking powder – Ensures your cake rises beautifully, creating a light texture.
- 1/2 cup unsalted butter (softened) – Provides richness and moisture to the cake layer.
- 2 large eggs – Binds the ingredients together while adding protein and flavor.
- 1/2 cup milk – Keeps the batter moist and adds creaminess to the cake.
- 1 tsp vanilla extract – Infuses a warm, delightful flavor that pairs perfectly with ice cream.
For the Ice Cream Layer
- 2 pints ice cream (your choice of flavor) – Choose your favorite flavors to personalize this delightful dessert!
For the Topping
- 1 cup whipped cream (for decoration) – Light and fluffy, it adds a beautiful finish to your ice cream cake.
- 1/2 cup chocolate syrup (for drizzling) – A luscious addition that enhances the dessert’s appeal and taste.
- 1/4 cup sprinkles – Adds a fun, colorful touch that makes this treat extra festive!
Step-by-Step ice cream cake
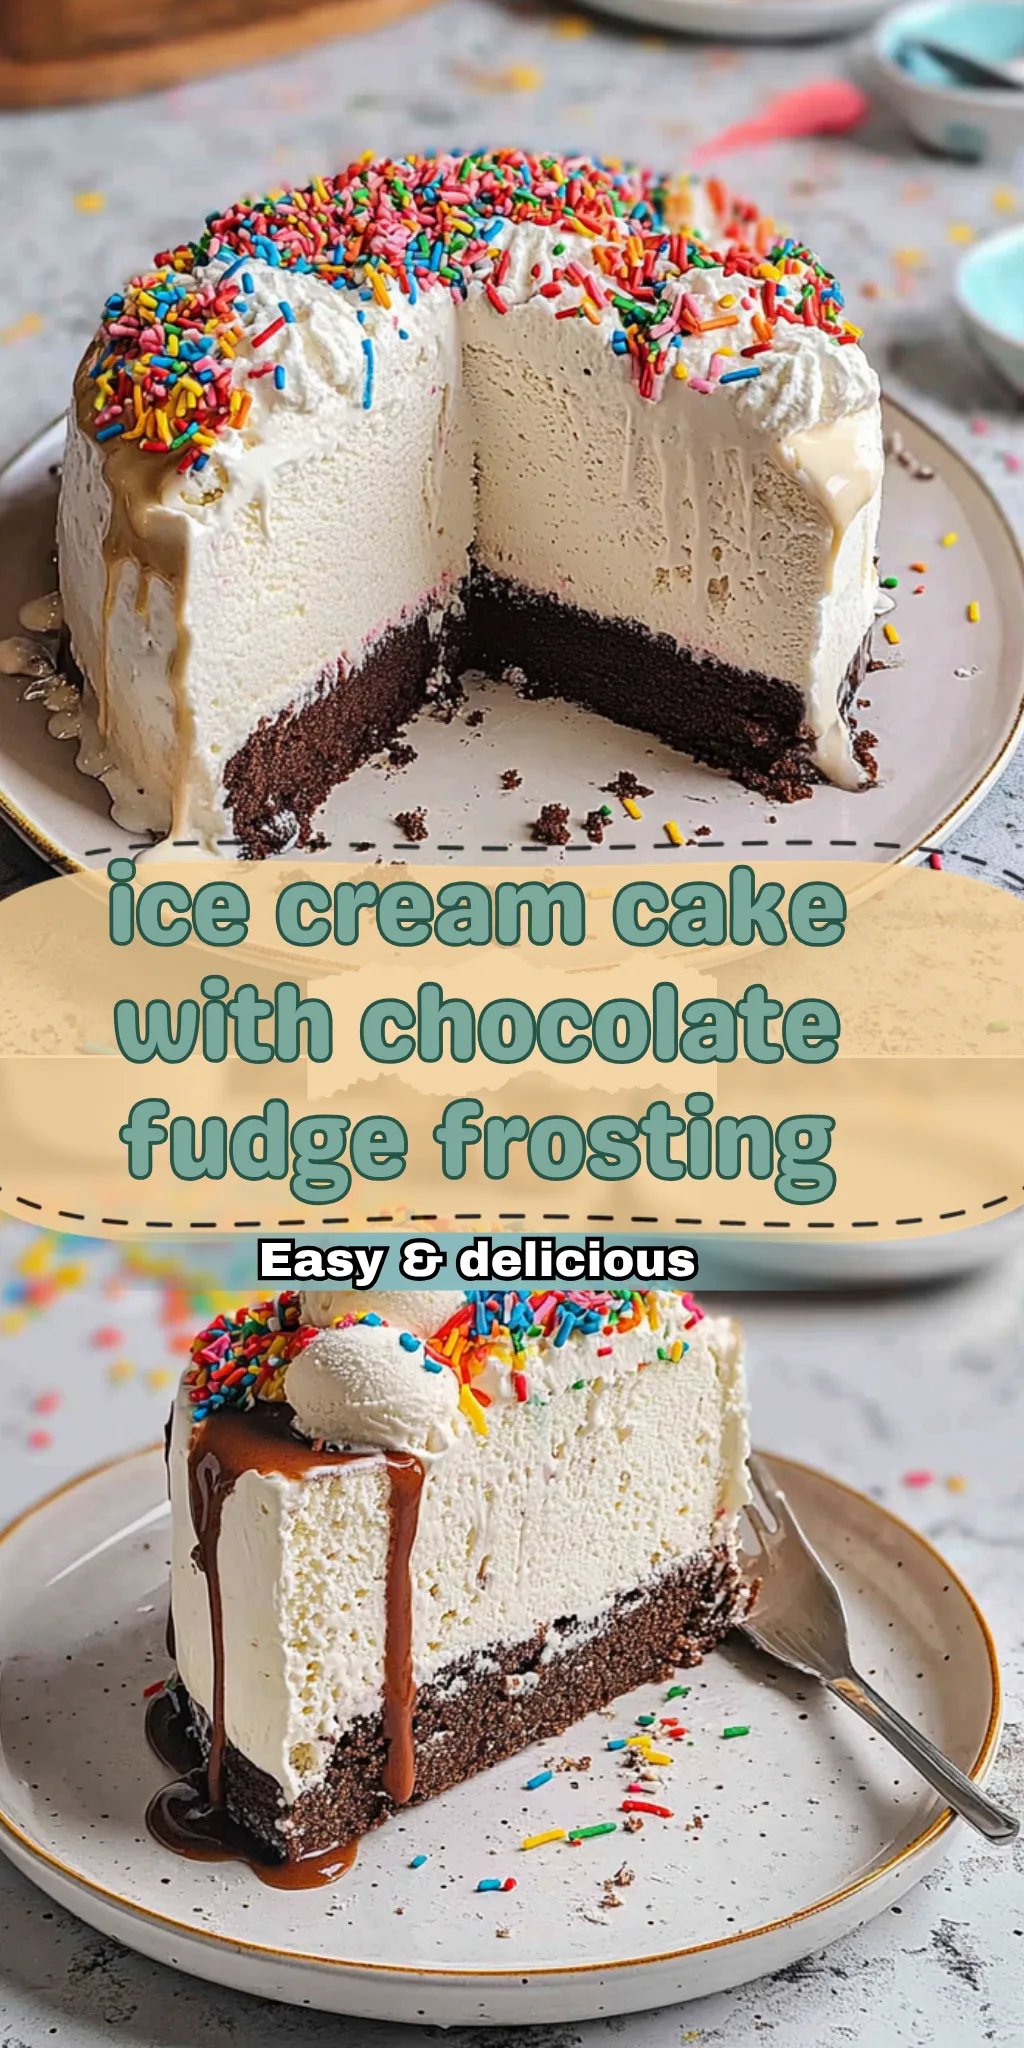
1. Preheat the oven to 350°F (175°C). This ensures your cake will rise beautifully. Grease and flour a 9-inch round cake pan to prevent sticking.
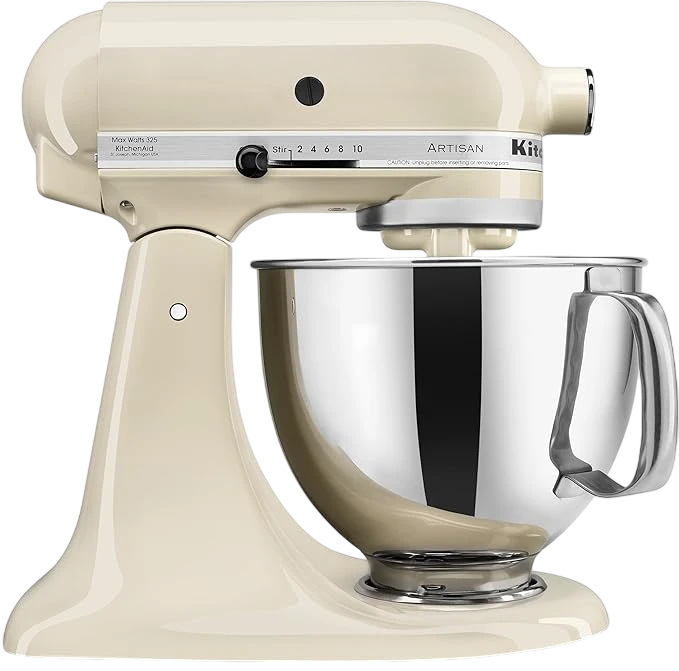
2. Cream together 1/2 cup unsalted butter (softened) and 1 cup granulated sugar in a mixing bowl until light and fluffy. This step is key for a moist, tender cake!
3. Add 2 large eggs, 1/2 cup milk, and 1 tsp vanilla extract to the mixture, mixing well until fully combined. The batter should be creamy and smooth.
4. Combine 1 cup all-purpose flour and 1 tsp baking powder in a separate bowl. Gradually add this dry mixture to the wet ingredients, mixing until just combined for a perfect texture.
5. Pour the batter into the prepared cake pan and bake for 25-30 minutes or until a toothpick inserted comes out clean. The golden color will signal it’s ready!
6. Allow the cake to cool completely in the pan before removing it. This is crucial for easy assembly later on.
Assemble the Ice Cream Cake:
7. Once the cake is cool, carefully remove it from the pan and slice it in half horizontally. This creates two layers for your delightful dessert.
8. Place one layer of cake back in the pan. Spread one pint of your favorite ice cream evenly over this cake layer, ensuring every bite is creamy.
9. Add the second layer of cake on top of the ice cream and press down gently to secure everything together.
10. Spread the second pint of ice cream over the top layer of cake, covering it evenly. Cover with plastic wrap and freeze for at least 2 hours to firm up nicely.
Decorate the Cake:
11. Remove the cake from the freezer and spread 1 cup whipped cream over the top and sides for a dreamy finish.
12. Drizzle with 1/2 cup chocolate syrup and sprinkle with 1/4 cup colorful sprinkles to add joy and color to your creation.
13. Slice and serve immediately! Watch as everyone digs into this celebration of flavors!
Optional: Decorate with fresh fruit for an extra touch of sweetness!
Exact quantities are listed in the recipe card below.
Tips for the Best ice cream cake
- Butter Consistency: Ensure your butter is softened, not melted, to achieve the perfect texture when creaming with sugar.
- Mixing Technique: Avoid overmixing the batter; just combine until you see no dry flour for a fluffy cake layer.
- Cooling Time: Be patient! Allow the cake to cool completely before adding ice cream to prevent melting.
- Ice Cream Texture: Let your ice cream soften slightly before spreading; it will make layering much easier and help it adhere better.
- Freezing Tips: For cleaner slices, freeze the assembled ice cream cake overnight if possible, ensuring it’s firm enough to cut without mess.
- Decoration Choices: Get creative with toppings! Use seasonal fruits or fun candy pieces to add a personal touch to your ice cream cake.
How to Store and Freeze ice cream cake
- Fridge: Keep your ice cream cake in an airtight container for up to 3 days to maintain its freshness and prevent freezer burn.
- Freezer: For longer storage, wrap the cake tightly in plastic wrap and then aluminum foil. It can last up to 2 months in the freezer.
- Whipped Cream: If you have leftover whipped cream, store it separately in the fridge for up to 2 days, as it may lose its texture when frozen.
- Serving Tip: To serve, allow the ice cream cake to sit at room temperature for about 10 minutes before slicing for easier cutting.
ice cream cake Your Way
Feel free to unleash your creativity and give this dessert a personal touch that tantalizes your taste buds!
- Gluten-Free: Substitute all-purpose flour with a gluten-free blend for a deliciously accommodating option. You’ll still enjoy that classic cake texture without missing out on flavor.
- Chocolate Lovers: Replace half of the flour with cocoa powder for a rich chocolate cake base. This will add depth and intensity, making every slice an indulgent treat.
- Fruit Infusion: Mix in 1 cup of mashed bananas or applesauce into the batter for a moist, fruity twist. The added natural sweetness enhances the overall flavor, making it even more delightful.
- Nutty Crunch: Fold in 1/2 cup of chopped nuts (like walnuts or almonds) to the batter for an exciting crunch. This adds a lovely texture contrast to the softness of the cake and ice cream layers.
- Boozy Boost: Add 1 tablespoon of your favorite liqueur (like Amaretto or Kahlua) to the milk for a sophisticated flavor enhancement. Just remember to keep it fun and lighthearted!
- Citrus Zing: Incorporate the zest of one orange or lemon into the batter for a refreshing citrus note. It brightens up each bite, making your dessert feel extra special.
- Coffee Kick: Stir in 1 tablespoon of instant coffee granules or espresso powder into the batter for a delightful mocha flavor. This twist pairs beautifully with chocolate ice cream!
Make Ahead Options

You can easily prepare this ice cream cake in advance, making it the perfect dessert for celebrations! Start by baking the cake layer. Preheat your oven to 350°F (175°C) and grease a 9-inch round cake pan. Cream together 1/2 cup softened unsalted butter and 1 cup granulated sugar until fluffy, then mix in 2 large eggs, 1/2 cup milk, and 1 tsp vanilla extract. In a separate bowl, combine 1 cup all-purpose flour and 1 tsp baking powder before gradually adding it to the wet mixture. Bake for 25-30 minutes, let it cool completely, and you can store it in the fridge for up to 3 days. The ice cream layer can also be prepped by spreading one pint of your favorite flavor over the cooled cake and freezing for at least 2 hours. When you’re ready to serve, simply decorate with whipped cream, chocolate syrup, and sprinkles for a stunning finish! This not only saves time but also ensures that your ice cream cake is fresh and delightful when it’s time to celebrate.
ice cream cake Questions Answered
What type of ice cream works best for the ice cream layer?
Feel free to get creative! You can use any flavor of ice cream that tickles your taste buds—classic vanilla, rich chocolate, or even fruity options like strawberry or mango. Just make sure to let the ice cream soften slightly before spreading it on the cake to make it easier to work with.
Can I make this ice cream cake in advance?
Absolutely! This delightful dessert can be made up to a week in advance. Just keep it well-covered in the freezer. When you’re ready to serve, pull it out and decorate it with whipped cream, chocolate syrup, and sprinkles just before slicing.
How do I store leftovers of the ice cream cake?
If you have any leftovers (which is rare!), simply cover them tightly with plastic wrap or aluminum foil and place them back in the freezer. The cake should stay fresh for up to 3 days, but be mindful that the texture might change slightly over time.
What if my cake layer is too dry or too dense?
If your cake comes out too dry, it could be due to overmixing or baking too long—make sure you check for doneness at 25 minutes! If it’s dense, try incorporating air into your butter and sugar mixture by creaming them longer until fluffy. Remember, patience is key!
How many servings does this recipe yield?
This recipe yields four generous servings—perfect for a small family celebration or an intimate gathering. If you’re expecting more guests, consider doubling the recipe and using a larger pan for an impressive centerpiece!
Can I modify ingredients for dietary restrictions?
Definitely! For a gluten-free version, substitute all-purpose flour with a gluten-free blend. You can also use dairy-free butter and plant-based ice creams to cater to lactose intolerant friends. Enjoy being creative while keeping everyone included at your table!
Ice Cream Cake
Ingredients
Method
- Preheat the oven to 350°F (175°C). Grease and flour a 9-inch round cake pan.
- In a mixing bowl, cream together the butter and sugar until light and fluffy.
- Add the eggs, milk, and vanilla extract, mixing well.
- In a separate bowl, combine flour and baking powder. Gradually add to the wet mixture, mixing until just combined.
- Pour the batter into the prepared cake pan and bake for 25-30 minutes or until a toothpick comes out clean.
- Allow the cake to cool completely in the pan.
- Once the cake is cool, remove it from the pan and slice it in half horizontally.
- Place one layer of cake back in the pan. Spread one pint of ice cream evenly over the cake layer.
- Add the second layer of cake on top of the ice cream and press down gently.
- Spread the second pint of ice cream over the top layer of cake. Cover with plastic wrap and freeze for at least 2 hours.
- Remove the cake from the freezer and spread whipped cream over the top and sides.
- Drizzle with chocolate syrup and sprinkle with colorful sprinkles.
- Slice and serve immediately.